15 Steps To Setup Your Zendesk In A Few Hours - Super Fast!

Race yourself to the Zendesk Setup finish line. With our 15 steps tutorial, you will pull the best time, minimise obstacles and be ready for action.
You sometimes just want to turn on a switch and GO! Yep, we’ve all been there.✋ We know! 😁 Time is valuable for you and sometimes limited, and shortcuts are not always the best solution. But a smart Start is! And we have the recipe for it. This is a quick tutorial on how to do a Zendesk Onboarding within hours.
Before starting, prepare!
For an easier Zendesk setup process, make sure you have all your info with you right from the start. This guarantees a clear view of your expectations, objectives, teams, and a productive flow for it all.
Define your business requirements
Envision what your finish line looks like. Decide on your goals, scope, and objectives. Take into consideration limitations, deadlines, and a need statement. Knowing what you want helps you in figuring out what you have to do to get there. 🏆
define Use cases
Ask yourself, what are you going to run through Zendesk? Is it Internal processes, customer-facing, etc.? 🤔 This helps set in place your main activity and your first line of projects.
Define the channels
What channels are you going to be supporting? Make a list of all the channels your agents are required to cover so nothing remains unchecked.

OK!
GO!
Check the list below of the 12 steps required to set you up in Zendesk, fast.
4. Create a group for each team that is going to work in your Zendesk.
5. Create a view for each of those teams.
6. Create a Custom field and name it “Request Type”.
7. Add the company’s most common questions and requests as values to the “Request Type” field.
8. Build a trigger for each request type that automatically assigns, prioritizes, and categorizes it.
9. Build an auto-response trigger for business hours, non-business hours, and holidays.
10. Build automation that reminds customers to reply to Pending tickets.
11. Enable the web widget and add it to the customer’s website Contact page.
12. Update the global signature and HTML email template.
13. Add the company’s staffed hours as a schedule.
14. Build an SLA policy for their target first and next reply times.
15. Enable customer satisfaction surveys on all tickets.
Need extra help?
If you’re interested in doing a proper setup, by the book, with a process that Zendesk has refined throughout 1000s of projects, then you’re in luck! 🍀 We happen to have one available for free! 🍀Click the button below and get the Zendesk Setup Course!
More help 🚨
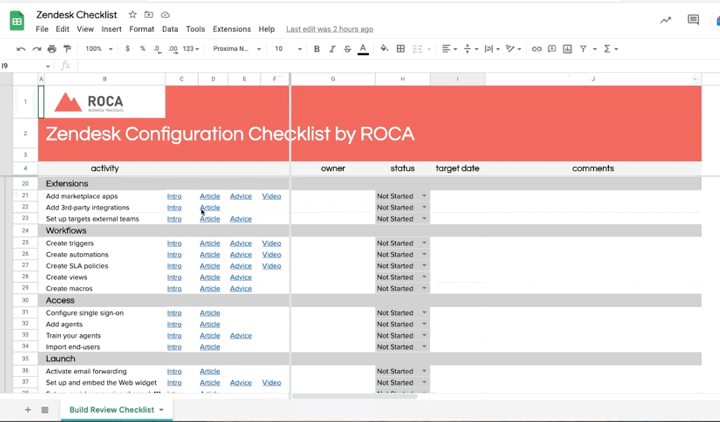
Also, we can double down and give you access to an exclusive Checklist you can use to keep track of your setup with useful tips and information to guide you along the way. See how it looks like below:
We hope our advice comes in handy! 😊
If you have any feedback or questions, we’d love to hear them.
You can send an email at dominic@roca.work if anything.